
 mobile
Category: eating in
12/15/11 07:30 - ID#55750
Give me all your brown bananas!
But the minute bananas are looking sad, black, almost ready to mould, I develop an inordinate amount of love for them because they make the MOST amazing banana bread aroma when I bake them. Even if the bread itself turns out a mild disaster (it mostly does since I cut out everything remotely luxurious, including butter), the ripe baking banana aroma is quite enough for me to love any bread... however poorly it might have turned out.
So if you are about to toss some black bananas, you know who wants them.
ME.
Signed,
The black spotty over-ripe banana bread experimenter supreme.
---
NB: today's experiment
2 black over-ripe bananas
1 cup plain low-fat yogurt
1¾ cup Whole Wheat Bread flour
¼ cup Wheat bran
Nutmeg
Fig Butter
½ cup Applesauce
Splash of vanilla essence
One BIG thumbs-sized (your thumbs, not mine) fresh ginger chopped.
Some ground black pepper
A tsp and a ½ of salt.
Permalink: Give_me_all_your_brown_bananas_.html
Words: 169
Last Modified: 12/15/11 10:34
Category: eating in
12/15/11 02:12 - ID#55747
Greens techniques
Common step: Wash them thoroughly
Method one: Blanch away
- Don't chop the greens
- Bring a HUGE pot of water to a boil with a VERY generous dusting of salt. ("Shockingly salty": that's how one of the chefs whose name I forgot, describes the level of salt in the blanching water).
- Dunk the unchopped greens into the boiling water for a brief span of time till the greens reach the peak of their green colour.
- Fish them out as fast as you can and wash them in cold water.
That's it. They are ready for further brief methods of cooking.
Method two: Toss 'em and forget 'em.
- Chop the greens very roughly
- Heat a pan on high
- Drop in some oil and swirl around (add some seasoning to the oil if you want too)
- Drop in the chopped greens.
- toss till covered in oil. Splash in some water or soy sauce.
- Cover with a sturdy lid till the greens are intensely green. They are steamed to crisp-tender at the top and slightly charred/caramelized where they come in contact with the pan.
- Take the lid off the pan after around 2 minutes.
- Take off heat - don't let the greens sit around in the pan and season with with spices/sauces. Serve hot.
I haven't yet tried either methods. I usually keep stir-frying because I don't want to char them, and I don't blanch them because it seems like such a waste of micronutrients that inevitably leach out in the water.
Maybe this weekend, I will try both.. I am curious about the differences in taste with both methods.
Permalink: Greens_techniques.html
Words: 276
Last Modified: 12/15/11 02:14
Category: eating in
12/15/11 12:50 - ID#55740
We probably can't save starving kids in Africa...
I stumbled upon this site:
 (wastedfood.com) and the statistics are shocking... till you think back to the time you wasted food. It was probably waste that was entirely avoidable by a few wise measures such as:
- not buying more food than you can eat or store properly.
- realizing the practical limitations of storage in your kitchen and fridge
- following a simple weekly schedule and fridge/pantry accounting plan to finish the older food before you go and get a newer version of the same food.
- having a good idea of what is in your fridge and on your kitchen and pantry shelves so you are not always in doubt at the grocery store. If it helps, take a weekly picture of your fridge shelves and kitchen shelves before you go grocery shopping. (Oh yeah, don't forget to replace these pictures with new ones every week.)
- (if memory is still fickle, maybe use small post it notes ON the fridge with days and dates by which specific food must be consumed.)
- checking all stored (even supposedly non-perishables) for infestation and mold every fortnight.
- storing nuts, grains, beans and lentils in PLAIN sight or in airtight containers in the freezer
- researching proper storage techniques for all kinds of food and religiously sticking to best practices of storage for various kinds of food,
- giving away the food you know you are going to waste to people who will eat them!
- and again, making a pledge to not buy more than you will use in a practical span of time,
More nifty tips about how not to waste food are here at this
and this It breaks my heart every time I have to throw out something because I have forgotten to follow even just one of these guidelines.

Permalink: We_probably_can_t_save_starving_kids_in_Africa_.html
Words: 340
Last Modified: 12/15/11 07:04
Category: eating in
12/13/11 10:06 - ID#55730
Sprouts
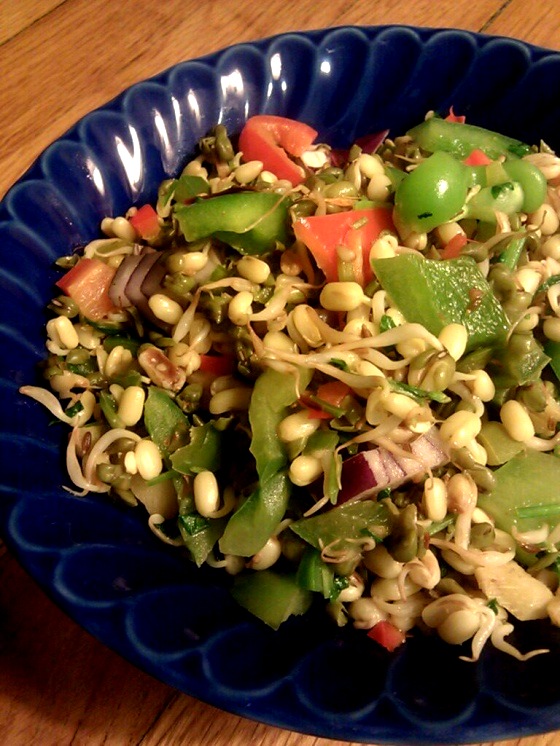
The toughest part is perhaps waiting for the mung beans to sprout. This is 2 days growth.
Heat a pan on high medium.
Drop in a tbsp of olive oil and swirl it around.
Add chopped ginger, red hot chillies and jalapenõs.
Add cumin seeds
Sauté for 20-30 seconds
Add sprouts.
Sauté for 2-3 mins or so.
Add chopped green and red bell peppers.
Sauté till crisp tender.
Add salt and chopped coriander leaves (cilantro) halfway through.
Garnish with finely chopped raw red onions, lemon juice and Haldiram Bhujia! Serve hot.


Permalink: Sprouts.html
Words: 97
Last Modified: 12/13/11 10:16
Category: eating in
12/02/11 11:50 - ID#55643
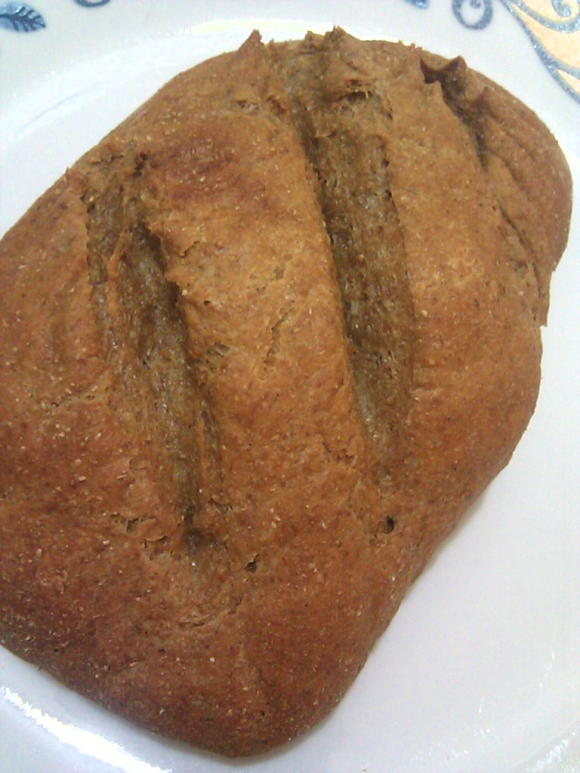
Whole Wheat Flax Seed Fig Loaf
1: Water
+ 2.00 ~2.25: Whole Wheat Flour
≥ 0.25: Ground Flax Seed {I think this is where you can add "whatever"}
+ 1 Tbsp: Fig butter
+ 2 Tbsp: Extra Virgin Olive Oil
+ generous salt
+ ~1/2 packet yeast
Let the yeast feast on
1:Water
1:Flour,
1tbsp olive oil
generous salt and the fig butter. (they like fig butter! It's basically food for the yeast. I couldn't taste it in the bread probably because the yeast ate it all.)
The feasting period ends with a warmish bubbly looking liquidy flour. Add the rest of the flour and extras and knead till
Let the dough rest for 2-3 hours. (Up to 12 hours if you want to intensify the sour taste. I didn't have any patience today and allowed just 2 hours before I harvested the dough for the next phase.)
Punch it down, knead, shape and put in loaf pans.
Cover the loaf pan with an aluminium foil tent as a lid.
Put it in the oven. Let it sit for 30 more minutes.
Turn on the oven and set the temperature to 350-375 deg F.
Bake the loaf covered for around 30 minutes
Uncover, spray the bread with water and bake for 20~30 more minutes.
Let the bread cool (gluttons will be tempted to slice whiles it's still hot. I did! The result is super delicious but the bread is kind of wet and doughy with the water vapour and not like what you would expect from bread).
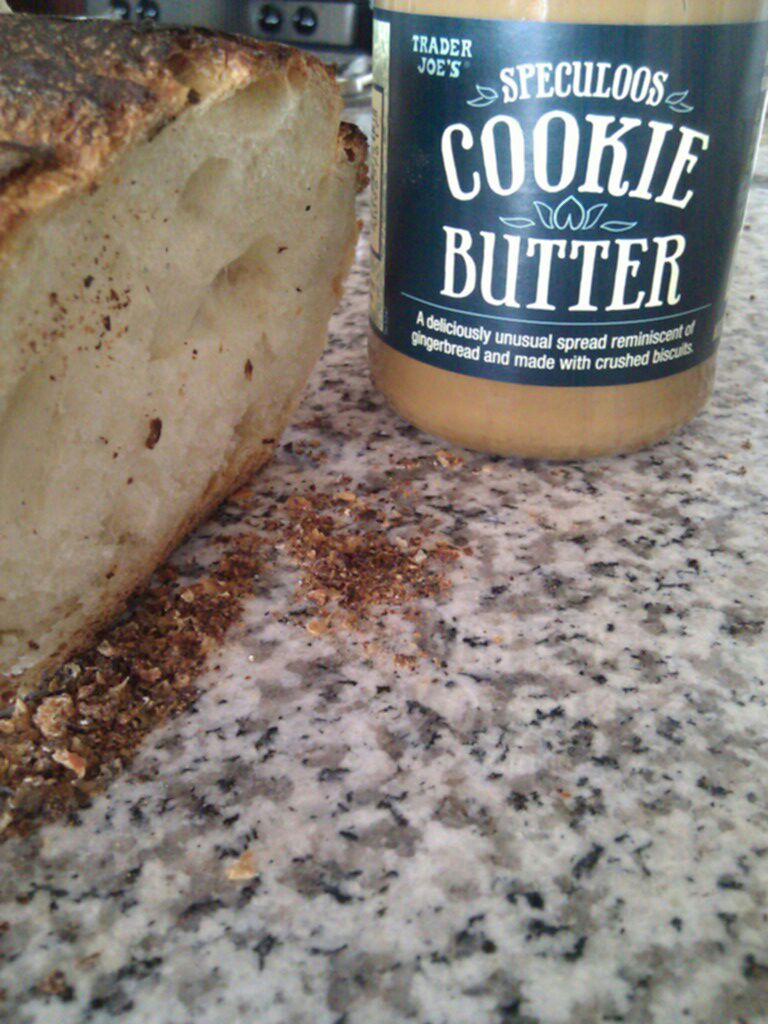
Slice after cooling. Spread speculoos paste or butter generously on slices and Enjoy!
Mission 5 accomplished! *
===
\*Ref: (e:tinypliny,55637)
PS: The pizza I made alongside this bread was an unmitigated disaster. The less said about it the better.
Permalink: Whole_Wheat_Flax_Seed_Fig_Loaf.html
Words: 303
Last Modified: 12/03/11 08:53
Category: eating in
11/27/11 10:49 - ID#55610
Sunday Breakfast


Permalink: Sunday_Breakfast.html
Words: 6
Last Modified: 11/27/11 10:50
Category: eating in
11/20/11 03:39 - ID#55562
Savoy Stir Fry!

Savoy Cabbage
Yellow peppers
Jalapeños and HOT chillies - a very generous gift from (e:Terry)'s wonderful chillie plants
Roasted caramelized tomatoes
Caramelized onions
Ginger
My own spice mix with a cardamom shot. (I need to figure out how I made this batch, it's so good and I have no idea what I put in because I made it in a very distracted way over a week).
Red peppers
Zucchini
Turmeric powder
All stir-fried in a tsp extra virgin olive oil - (e:Paul), that oil rocks. I am tempted to buy that bottle off you!!
Permalink: Savoy_Stir_Fry_.html
Words: 136
Last Modified: 11/20/11 03:42
Category: eating in
11/11/11 04:25 - ID#55485
Cauliflower Magic
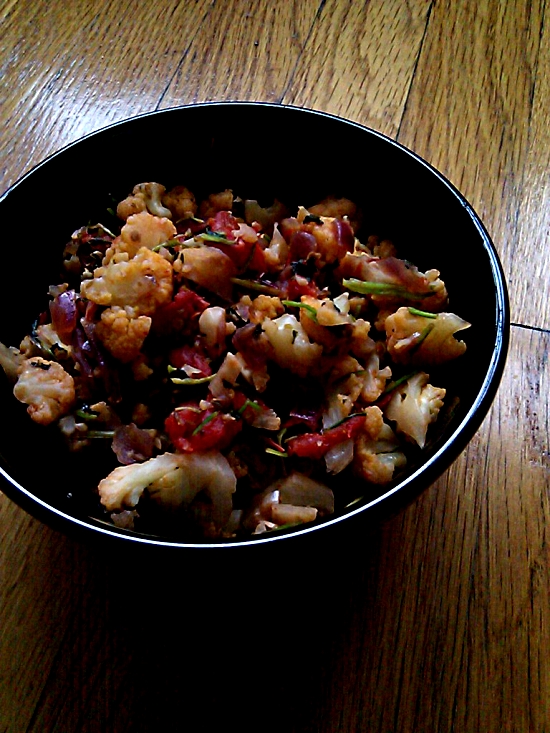
Add garlic, a couple jalapeños, minced ginger, cumin, coriander and toasted cashews. And you have a winner lunch that makes it feel like summer! :)
Permalink: Cauliflower_Magic.html
Words: 36
Last Modified: 11/11/11 04:49
Category: eating in
11/06/11 09:41 - ID#55456
The DST Sunday breakfast.
The steamed lentil and millet sunlight dumpling!

1 part green moong dal
1 part millets
1 part urad dal
Soaked 3-6 hours
Blended to a coarse grind
Seasoned with olive oil with mustard seeds, dried red chillies, jalapeños, red peppers, curry leaves. Salt to taste
Fermented overnight.
Steamed in the morning.
Garnished with carrots and coriander leaves, tossed in lemon juice. Red onions would have been awesome but I forgot about them.
Tada!
PS: Could have been infinitely better with a coconut and coriander and caramelized onion chutney. But I only have so much time to spare. The ratios are a keeper, though.
Permalink: The_DST_Sunday_breakfast_.html
Words: 124
Last Modified: 11/06/11 09:56
Category: eating in
11/06/11 01:04 - ID#55453
Cocoa Butter Vs. Soy Lecithin
If the chocolate starts to melt and smear your hands a bit, it has at least some amount of real cocoa butter (or if you were careful you bought one completely made of cocoa and cocoa butter).
Else, you just bought a chocolate with fake soy lecithin. I wish they had never found this stupid filler. It somehow makes the sugar in the chocolate more prominent than the cocoa. And that is a sign of a bad chocolate.
Permalink: Cocoa_Butter_Vs_Soy_Lecithin.html
Words: 109
Last Modified: 11/06/11 01:10
Author Info

Date Cloud
- 12/21
- 12/15
- 02/15
- 01/15
- 11/14
- 08/14
- 04/14
- 02/14
- 11/13
- 07/13
- 09/12
- 08/12
- 07/12
- 04/12
- 03/12
- 02/12
- 01/12
- 12/11
- 11/11
- 10/11
- 09/11
- 08/11
- 07/11
- 06/11
- 05/11
- 04/11
- 03/11
- 02/11
- 01/11
- 12/10
- 11/10
- 10/10
- 09/10
- 08/10
- 07/10
- 06/10
- 05/10
- 04/10
- 03/10
- 02/10
- 01/10
- 12/09
- 11/09
- 10/09
- 09/09
- 08/09
- 07/09
- 06/09
- 05/09
- 04/09
- 03/09
- 02/09
- 01/09
- 12/08
- 11/08
- 10/08
- 09/08
- 08/08
- 07/08
- 06/08
- 05/08
- 04/08
- 12/07
- 11/07
- 10/07
- 09/07
- 08/07
- 07/07
- 06/07
- 05/07
- 04/07
Category Cloud
More Entries
My Fav Posts
- Click the heart at the bottom of anyone's blog entry to add it here ;(
 Buffalo Pride weekend marathon
 Raggedy Annie Plushapalooza '96
